Disclaimer: This post contains affiliate links. If you choose to purchase something after clicking a link, I may receive a commission at no extra cost to you (learn more). Thanks for your support.

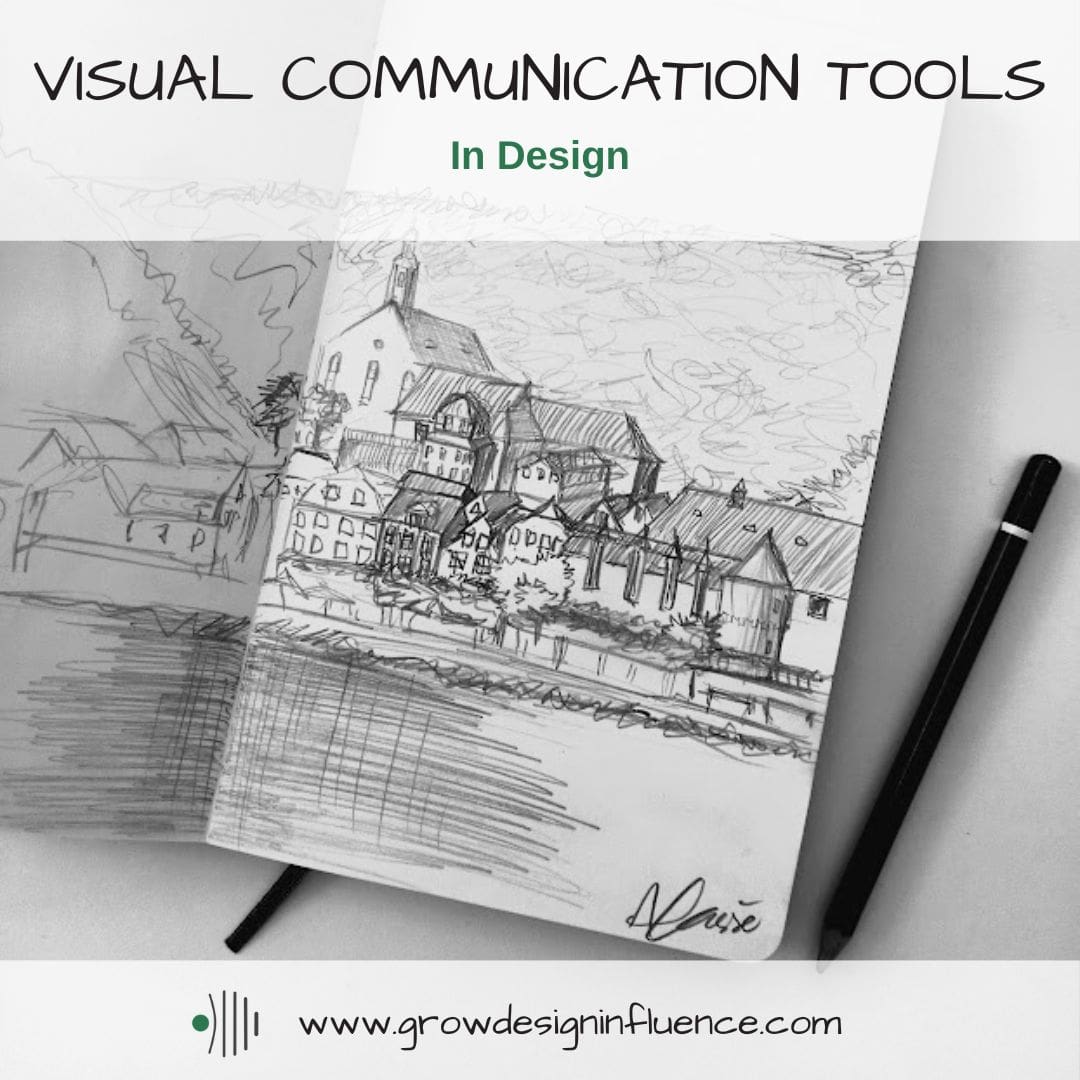
Visual communication tools are a major resource in the life of a designer and from my experience, we seldom talk about it with intent. I believe it’s so important to know why you are doing the things you are doing in order to spend time in the right areas and to use the right tool for the job. This article is targeting those at the beginning of their design careers who are spending lots of time on the tools, and also those that want to improve the design process and check in with where they are delivering the most value.
Why Talk About Visual Communication and How to Make it Collaborative.
What is visual communication?
It is conveying information in a visual way through images, drawings, colours and textures.
Why talk about it?
I think we can get trapped by putting our hearts and soles into creating the perfect visual render without first having really thought about if it’s the most effective tool for the job at hand. If we are under time pressure, then focusing on a perfect render, risks taking time away from getting the design right in the first place. It could also mean that time is not spent on important collaboration because we are focused on the end result. Visual tools are important parts of the design process and they are so much more than a final ‘marketing shot’. I believe it’s important to understand what tool is useful in which situation.
Making it collaborative
As designers, we are usually working with a team of consultants and a client to solve design problems that affect end users including the wider community. It’s important complex work and time is a finite resource. People are paying for your time and where you spend your time determines the outcome of the project.
My favourite visual tools are the loosey-goosey sort. The ones that are quick to generate and the ones that the full team, the client and the end users can be involved in. Ask yourself, do your visual tools engage with your stakeholders? Can people interact with and change them? Are you comfortable sketching and engaging in front of and with your clients? I think collaboration is largely facilitated by visual communication. Visual tools help make sure everyone is on the same page and it provides an opportunity to get a better outcome through an improved understanding of the needs of others. When we understand others we can empathise. Check out my article on empathy to learn more about the benefits for design outcomes.
Different Visual Communication Tools
We need to make sure we are spending time on the things that will generate the most value. In order to do that I believe we need to be very conscious about what those things are. This article will discuss several different visual communication tools and when to use them. I will talk about these tools from the perspective of working as a landscape architect but I believe it would be applicable across many design professions.
The tools
- Photographs
- Basemaps
- Infographics
- Diagrams
- Sketching
- Plans, 3D renders and computer modelling
Photographs

If you don’t have a comprehensive photo library go out and start taking photos now. Photos are such a useful tool to help get people on the same page in terms of look and feel. They show real examples of what your design could end up like. It’s so useful to be able to draw on photos of materials, furniture, colours or user activities. If you have a photo library and engage everybody in the team with it in a workshop setting, then you can come up with a suite of components that will inform the design direction.
A successful project starts with shared project values and vision. When everybody buys into the initial direction of the project, then you will have a more seamless design process and you will reach a solution that benefits a wider stakeholder group. Photos are a helpful tool when you develop the values and vision of your project.
If you don’t have a solid library yet, then you can use online resources, but make sure you are allowed to use them and that you credit the owner of the photos. A couple of stock photo resources I like are Pexels and Pixabay.
Basemaps and Stories
Understanding the different layers of a site can be so important but how much time do you need to spend representing that information? How can you quickly understand what is unique and special to a place?
As design professionals, part of our role is to uncover and tell the stories of a place to inform the design process. This important aspect is not always understood by everyone. We need to deliver the value of understanding history and place without a huge time investment. When people pay hundreds of dollars to have an existing map made a little prettier, but which doesn’t show any additional information, then perhaps it’s not time well spent. I focus on using existing aerial photography and topo maps coupled with photos. As a designer, you can highlight important stories through imagery. It is also important to be clear in your mind about what is important and why, so you know where to focus your energy. What is the story you are telling and how does it relate to your project vision? This is the value you bring as a design professional.
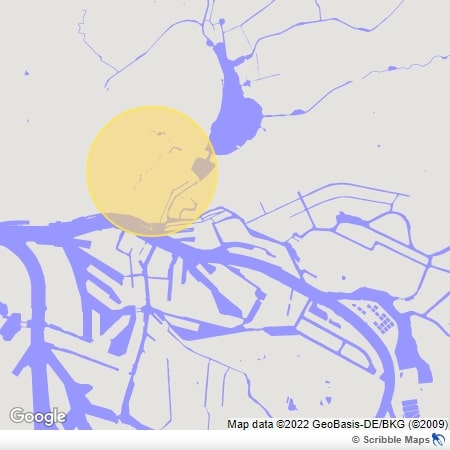
As a base map tool I really like Scribble Maps because it enables live interaction with the map on your computer so you can develop ideas over the top of the map. The below map of Hamburg waterways was generated in Scribble Maps in 2 mins. I added a circle so you can see the overlay function. If you have the right tools you can save heaps of time. You can then use that time to maximise the value you bring to the project.
Infographics
Infographics turn information into a graphic form. It can be a great way to bring base information to a workshop to quickly get everybody on the same page. The below example was generated in 5 minutes using a template in the free version of Canva. As a designer, the value you bring is in interpreting the base data and pulling out the relevant information. The information explored needs to link back to your values and vision for the project. What do you need to understand to achieve your project goals?

Diagrams
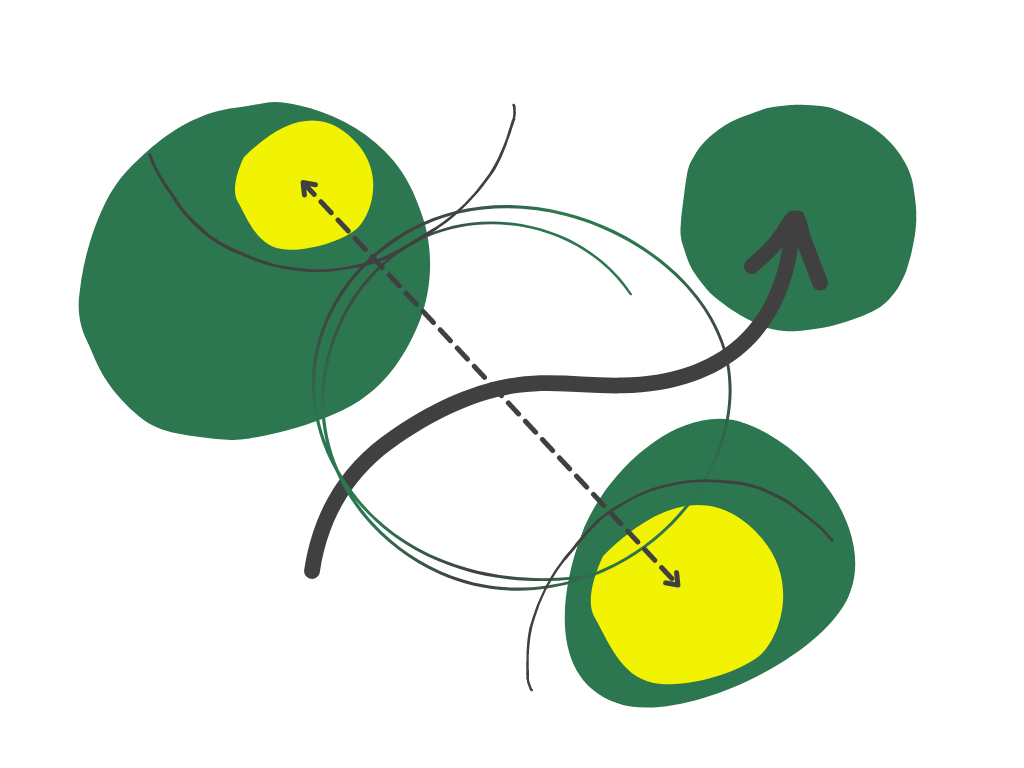
Once you get into the design process diagrams are useful in helping you understand both the existing relationships between site elements but also how your design will change those interactions. Diagrams can communicate key interventions. I think diagrams are one of the most important visual communication tools. They help highlight where to focus your time and they can help you interpret how your vision will translate in reality. Diagrams should be quick and fluid and always be tested through the design phases. I think its important not to get hooked on a diagram and its therefore important that the process of generating the diagram is quick and easy. It could be a pen and paper scribble, it could be using a tool like Scribble Maps (shown above) or it could be a tool such as Canva which generates quick sketches that are easily changed (example below). I believe that the best tools for diagrams are quick tools.
Sketching

Sketching has a place in every phase of design. Sketching can be used in client meetings to communicate ideas. It can be used when feeling designer’s block to get your creativity flowing. I have written an article on boosting creativity to help with that. It can be used as a quick way to communicate design intent. I’m a big fan of the humble pencil so I encourage you to bring it into your life as a designer as much as possible. When you sketch as part of a client or stakeholder meeting it enables an open co-creative process where you capture the thoughts of many. Artistic creativity is something that sets us apart from other professions so use it to its full advantage.
Plans, 3D Renders and Computer Modelling
We need plans and renders to communicate our design intent, to be clear with the community and stakeholders about what the design will look like. We need them to get consent. They can also be a useful tool to test our design because modelling and rendering our designs turn our thoughts to a form of reality. We can make sure the scale is right and the levels interact how we envisaged.
It is important to think about how much rework a plan or render would involve if the design changed. Again getting the tools right is important and I like the shift towards computer modelling and virtual reality. If we can make sure our design works in the virtual world then we have less chance of building something wrong on the ground – a costly exercise for the project and the planet. Generating plans and renders from models is also fast and effective. 3D computer models provide a great tool for further interaction with clients and stakeholders. It allows people to fully interact with the design and provide feedback.
What are your Favourite Visual Communication Tools?
One last note about individual strengths. What I have mentioned above is what works for me and my strengths but everyone is different so think about your individual situation. How do you effectively communicate visually and what value could that bring to your projects? I hope I have convinced you that visual communication tools play many roles and facilitate collaboration and better project outcomes when the focus is in the right place. Comment below! I would love to hear what tools you use and why.